Infographic Photo Frame Vertical
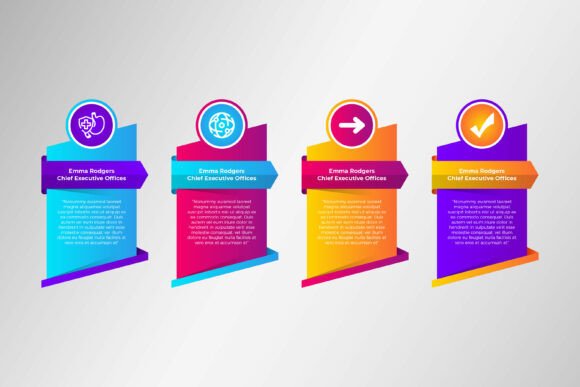
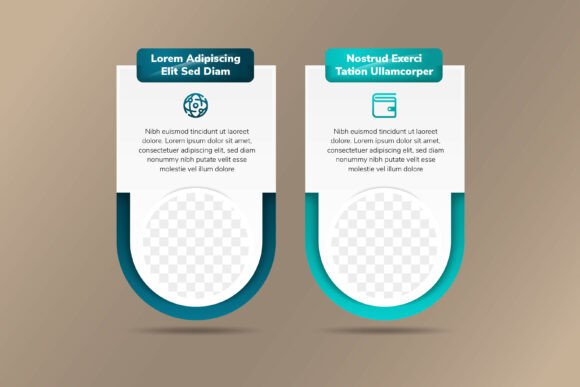
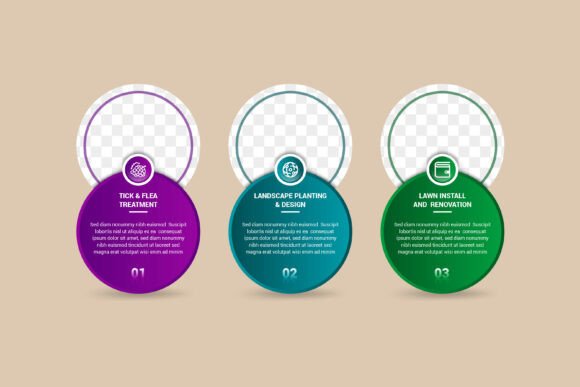
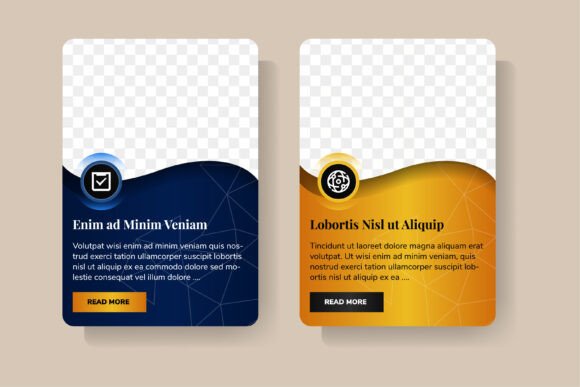
A clean, versatile starting point for visual storytelling—Infographic Photo Frame Vertical is more than a template. It’s a flexible design system built for clarity, speed, and intention. Designed with business professionals and creative practitioners in mind, it combines photo placeholders, icon-ready zones, structured text blocks, and a subtle polygonal line pattern—all within a vertical layout optimized for modern digital and print use.
What makes it stand out isn’t just aesthetics—it’s how thoughtfully everything works together. Every element is 100% vector, fully editable in Illustrator or compatible software. Text, shapes, colors, and even the background pattern can be adjusted without quality loss. At 300 DPI, it delivers crisp output for presentations, reports, brochures, website banners, and social media carousels—no pixelation, no guesswork.
Why This Layout Fits Real Workflows
Vertical orientation aligns with how people consume content today: scrolling feeds, mobile-first web pages, pitch decks, and printable one-pagers. Unlike horizontal infographics that often demand zooming or sideways scrolling, this frame keeps information flowing naturally—from top to bottom, eye to eye.
The two-color palette (blue and gold) offers immediate visual cohesion, but it’s not locked in. Swap either hue to match brand guidelines, seasonal campaigns, or accessibility needs. Blue conveys trust and professionalism; gold adds warmth and emphasis—ideal for highlighting key metrics, team photos, or value propositions. And because all color fills are editable, switching palettes takes seconds—not hours.
Creative Uses Across Roles and Platforms
For marketers: Turn quarterly results into a scrollable LinkedIn post. Place headshots of your leadership team beside short bios and KPIs—use the solid color blocks to separate sections cleanly. Add icons for services or values (e.g., “Innovation,” “Sustainability”) next to concise bullet points. The polygonal line pattern adds texture without competing with data.
For educators and trainers: Build a course overview page. Use photo placeholders for instructor portraits or classroom images. Pair each with a learning outcome (“Apply design thinking to real-world problems”) and an icon representing the skill. Keep text blocks tight—students skim first, read later.
For small business owners: Create a “Meet Us” section for your website or printed welcome packet. Insert high-res team photos, overlay brief role descriptions, and anchor each with a simple icon (e.g., gear for operations, lightbulb for strategy). The vertical rhythm guides attention smoothly from “Who we are” to “What we do” to “How we help.”
For freelancers and designers: Use it as a client-facing proposal framework. Replace placeholders with mockups of your past work, add project timelines in the text blocks, and insert service icons beside deliverables. Because everything is layered and labeled in the AI file, customizing for each client feels efficient—not exhausting.
Design Decisions That Support Clarity
The structure isn’t arbitrary. Solid color blocks create breathing room between ideas—preventing visual fatigue. Photo placeholders are sized and spaced to avoid awkward cropping. Icons sit on consistent baselines, making alignment intuitive. Even the polygonal line pattern serves a purpose: it adds subtle movement and modernity while remaining low-contrast enough to support readability.
Transparency options (via layer visibility or blending modes) let you soften backgrounds behind photos—or lift text blocks slightly with soft shadows. These aren’t flourishes; they’re functional tools for hierarchy and focus.
Getting Started Without Overcomplicating
You don’t need advanced design skills to make this work. Start by asking three questions:
- What’s the core message? (e.g., “Our team brings 12 years of UX expertise.”)
- Who needs to see it—and where? (e.g., investors reviewing a pitch deck, new hires reading onboarding materials)
- What assets do you already have? (e.g., team photos, logo, brand fonts, existing icons)
Then, follow the template’s natural flow: lead with identity (photo + title), clarify purpose (short paragraph or bulleted value), reinforce with evidence (icons + stats or quotes), and close with direction (“Learn more,” “Get started,” “Contact us”). The “Read more” prompt included in the layout isn’t decorative—it’s a tested call-to-action cue.
Adapting for Different Formats
Because the file includes AI, EPS, SVG, and JPG versions, you’re covered across contexts:
- Web & digital: Use SVG for responsive embedding (logos, banners, landing page sections). Export JPGs at exact dimensions needed for email headers or social thumbnails.
- Presentation slides: Copy vector shapes directly into PowerPoint or Google Slides. Resize freely—the lines stay sharp.
- Print collateral: Drop the 300 DPI JPG into InDesign layouts for brochures or annual reports. Or open the AI file and adjust bleed/margins for professional printing.
No reworking required. Just replace, resize, recolor—and keep the underlying structure intact. Consistency builds recognition; flexibility prevents stagnation.
A Template That Grows With Your Needs
This isn’t a static image you drop in and forget. It’s a living framework—one that supports iteration. Try these low-effort variations:
- Swap the polygonal pattern for a gradient fill behind a single photo block to spotlight a featured person or milestone.
- Use only the top third for a social media profile highlight—crop to focus on name, role, and one defining icon.
- Stack two frames vertically in a report appendix to compare “Before/After” team structures or service offerings.
Each change stays grounded in the original logic: clear zones, balanced spacing, intentional contrast. That’s what makes Infographic Photo Frame Vertical multipurpose—not just in theory, but in daily use.
If you're choosing visuals to represent your work, your team, or your ideas, choose tools that respect your time and amplify your voice. This template does both—without demanding perfection before you begin.